woensdag 18 februari 2015

DIY Paper gift bag tutorial, English and Dutch!

This time a lovely tutorial for a paper gift bag. I really love them, so I am going to use them as a package to sell my products. This is what they look like:

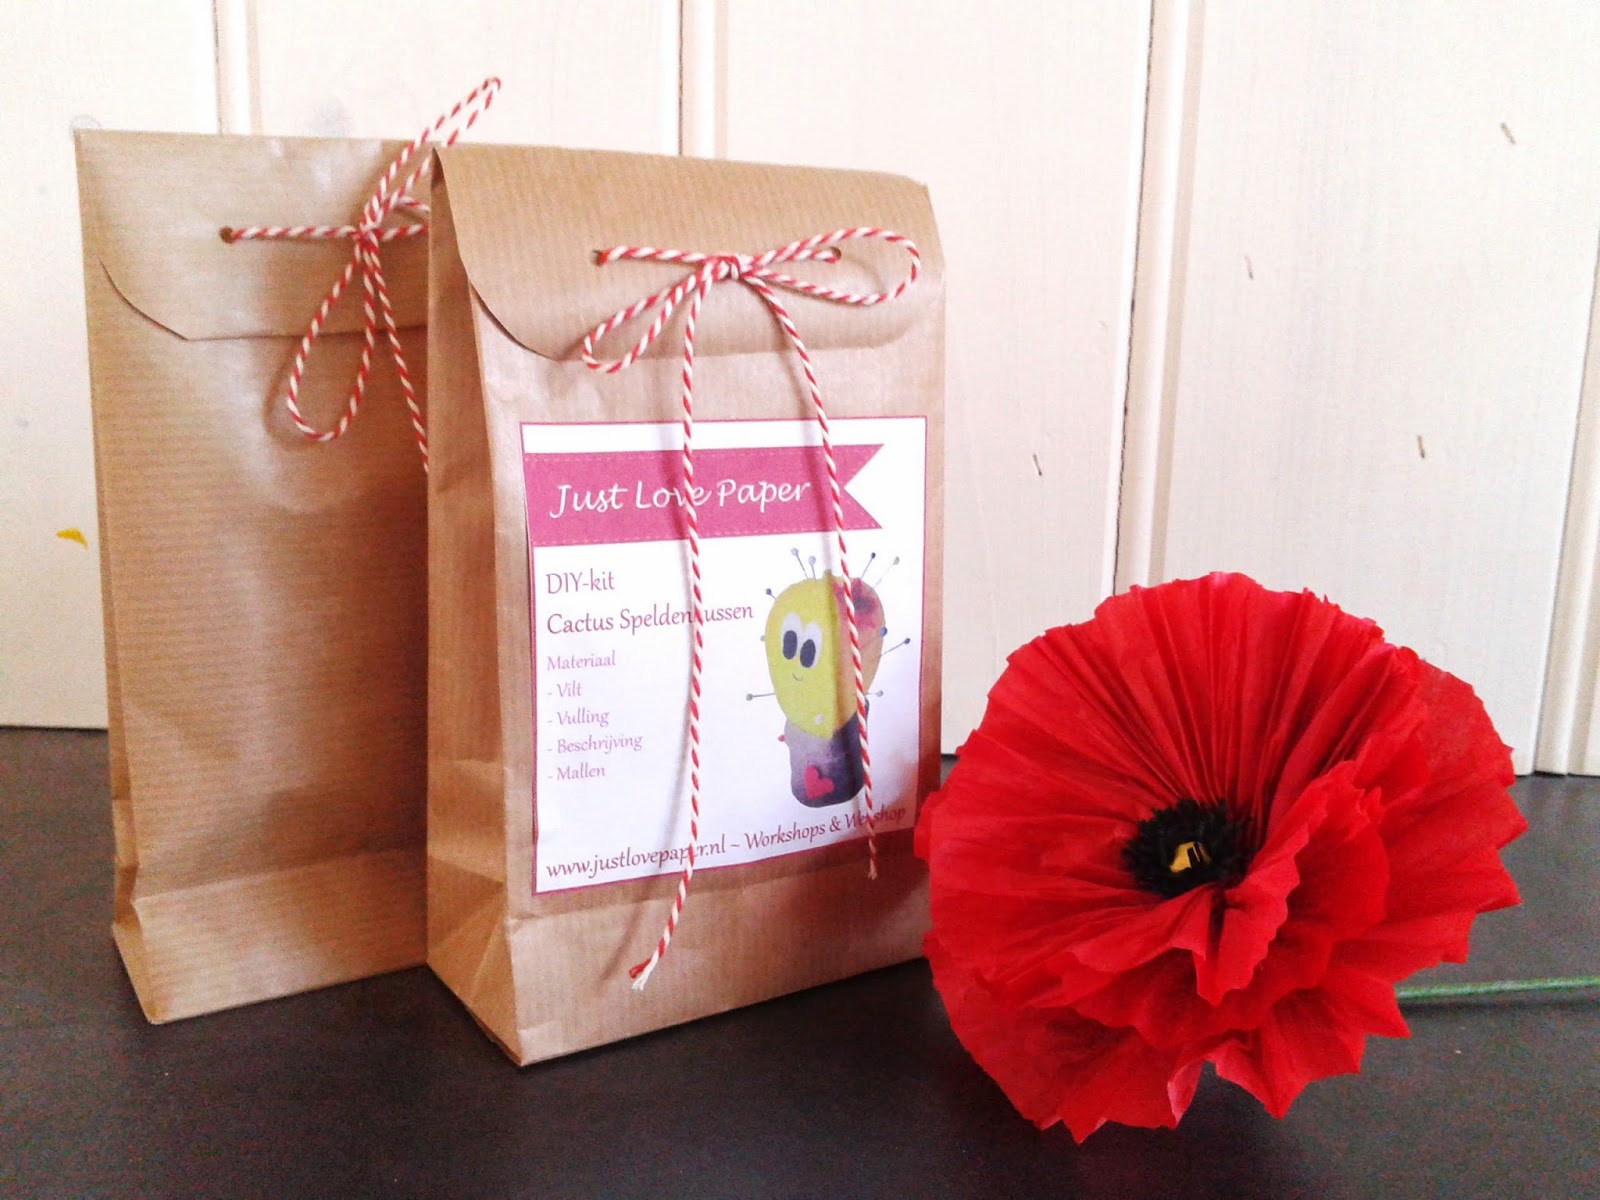
Deze keer een leuke tutorial voor een papieren cadeauzakje. Ik vind ze helemaal geweldig en daarom ga ik ze ook gebruiken om mijn producten van Just Love Paper in te verpakken. Zo zien ze er uit:


The tools you need:
- ruler
- scissors
- glue or double sided tape
- craft knife
- something to punch holes
- cutting mat
- paper or cardstock of choice

De benodigdheden:
- liniaal
- schaar
- lijm of dubbelzijdig tape
- hobbymesje
- iets om gaatjes te maken
- snijmat
- papier of karton naar keuze


Cut a piece of paper with these measurements: 34 cm x 26,5 cm, fold the paper down at the top part to create a flap of 4,5 cm and do the same on the bottom part for 4 cm.

Snij een stuk papier af met de volgende afmetingen: 34 cm x 26,5 cm, vouw aan de bovenkant een rand om van 4,5 cm en doe hetzelfde aan de onderkant voor 4 cm.


Fold a flap of 4 cm wide on the left side. Cut of the squares that arose in de the corners. Cut of the corners of the flap, the same as on the picture below.

Vouw vervolgens aan de linkerzijde een flap om van 4 cm. Snij de kleine vierkantjes die in de hoeken zijn ontstaan weg en snij de flap schuin af onder en boven, zoals op de foto.


Fold you paper from the right side, first 5 cm, than 10 cm, than 5 cm. Than you will have the same as on my picture.

Vouw nu vanaf de rechterzijde eerst 5 cm, dan 10 cm en vervolgens 5 cm om. Dan moet je papier er hetzelfde uitzien als op de foto.


Cut of the three rectangles on the right corner. And make three incisions on the bottom part on the folding lines, just as shown on the picture.

Snij de drie rechthoeken, rechts boven van het papier eraf. En knip aan de onderkant het papier in, drie keer, precies op de vouwlijnen, net zoals op de foto in gedaan.


Now starts the tricky part, glue the bag together. You start with the big flap on the left, you glue that to the inside of the part on the right, so you get a tube.

Nu komt het moeilijkere gedeelte, het in elkaar lijmen van de zak. Je begint met de grote flap aan de linkerkant. Deze plak je aan de binnenkant van de rechterkant, zodat er een koker ontstaat.


Now you can glue the bottom part together, first you fold the small flaps in and the you glue one big flap onto the small ones. And than you can glue the last flap onto the others like this:

Nu kun je de bodem aan elkaar lijmen, eerst vouw je de kleine flappen naar binnen toe. Vervolgens lijm je één grote flap op de twee kleine flappen en als laatste plak je de andere grote flap erover heen. Zo moet het eruit zien:


Now we are going to shape the bag. You pinch the top parts on the side together, so you create a triangle.

Nu gaan we de zak vormen. Je knijpt de twee bovenkanten aan de zijkant naar elkaar toe. Nu ontstaat er een driehoek.


Now you pinch the entire lenght togerher and create a fold. Do this on both sides.

Nu knijp je de zijkanten over de gehele lengte naar elkaar toe en je maakt hier een vouw. Dit doe je aan beide kanten.


Fold the bottom flat.

Vouw de bodem plat.


And now we make holes in the flap and corresponding holes in de bag itself, so you can close it with some ribbon or twine. I punched the holes 2 cm from the sides and 2,5 cm from the top. Make sure that you only punch the holes in the front of the bag. If you use the same tools as I did, you have to place something inside your bag, to protect the other side, I used an old debit card.

Nu gaan we nog gaatjes maken in de flap en in de zak zelf, deze moeten met elkaar overeen komen, zodat je hem dicht kunt maken met lint of touw. Ik heb de gaatjes 2 cm vanaf de kant en 2,5 cm vanaf de bovenkant gemaakt. Wanneer je dezelfde tools gebruikt als ik, moet je er wel rekening mee houden dat je geen gaatjes maakt in de achterkant van de zak. Ik heb hiervoor een oud bankpasje in de zak geplaatst.


And the most fun part: decorating! You can customise it to your own needs. Have fun!

En nu het meest leuke onderdeel: versieren! Je kunt de zak helemaal versieren naar je eigen smaak. Veel plezier!


woensdag 11 februari 2015

The Secret Penpal Scavenger Hunt 2015

The Secret Penpal Scavenger Hunt, I joined this also last year. It's about snailmail, but then with some rules. You get an name and adress from someone else, somewhere in the world. And then you get a list with where you can choose some items from.

They could be:
- Something made of fabric
- Something round
- Something to read

And then you have to find things to match and you also buy a little gift for €3,- I hope the person I get will respond this time, last time I never heard from her unfortunatly.


The Secret Penpal Scavenger Hunt, dit heb ik vorig jaar ook gedaan. Het was super leuk om te maken en om te krijgen. Je krijgt een willekeurig adres van iemand ergens op de wereld. En dan krijg je een lijstje met dingen waaruit je je snailmail kunt samenstellen.

Zoals:
- Iets gemaakt van stof
- Iets ronds
- Iets om te lezen

Dan moet je dingen zoeken die daaraan voldoen en je koopt nog een klein cadeautje voor ongeveer €3,- Vorige keer kreeg ik alleen geen reactie van degene waaraan ik het had gestuurd, erg jammer. Hopelijk deze keer wel. Ik heb er nu al zin in. 

Wil je ook meedoen? Dat kan hier: The secret penpal scavenger hunt

This what I made last year / Dit heb ik de laatste keer gemaakt:


 This what I recieved last year / Dit heb ik laatste keer gekregen:


dinsdag 10 februari 2015

Win a workshop Paper Roses in Gouda, Netherlands!

You have the chance of winning a workshop Paper Roses in Gouda. All you have to do is go to: facebook Like the page from Just Love Paper, share the last post about the free workshop in public and leave a message below that post. And maybe you will learn to make these awesome roses for free!

Je kunt kans maken op een gave workshop Papieren Rozen in Gouda. Het enige wat je hoeft te doen is: Ga naar facebook, like de pagina, deel het laatste bericht over de gratis workshop in het openbaar en laat een berichtje achter. Misschien leer ik jou straks om prachtige rozen te maken en dat helemaal gratis!


woensdag 4 februari 2015

The final Garden Rose!

It took me some time, but it's final: The Garden Rose. The design is quit different from the normal rose, but I really love it.

In a short while this flower will become available as a DIY package! It's also possible to follow a workshop to learn it yourself, just check my website to book a workshop: Just Love Paper

Het heeft me veel tijd gekost, maar hij is er nu definitief: de tuinroos! Het ontwerp is behoorlijk anders dan mijn standaard roos, maar ik ben er super blij mee!

Binnenkort kun je deze roos kopen als DIY-pakketje en kun je heerlijk aan de slag! Wil je hem liever leren maken tijdens een workshop? Dat kan! Boek een workshop via mijn site: Just Love Paper


dinsdag 3 februari 2015

Art Journaling Hype


Lately I see a lot of amazing Art Journal pages passing by on pinterest and fb. I would love to try it  myself, but I always think that I can't do it. I am very precise, and the entire page forms one amazing collage. So I am just scared to make mistakes, but can you really make mistakes? I don't think so. So I am really trying to push myself to try it, not with a lot of painting myself, but using paper shapes as a base. Hopefully I can show you some amazing pages in a few weeks!

But for now I show you some of my favorite art journal pages I have seen in the past couple of weeks. Do you also have a favorite artist?


De laatste tijd zie ik veel prachtige Art Journal pagina's voorbij komen op pinterest en fb. Ik zou dit zelf ook dolgraag willen proberen, maar ik denk altijd dat ik dat niet kan. Ik ben namelijk erg precies en zo'n pagina vormt een prachtige collage. Ik ben dus bang om een fout te maken, maar kun je eigenlijk wel een fout maken met Art Journaling? Ik denk het eigenlijk niet. Dus ik hoop jullie de aankomende weken een paar prachtige Art Journal pagina's te kunnen laten zien!

Maar voor nu laat ik jullie een aantal prachtige pagina's zien van geweldige kunstenaars. Deze inspireren mij enorm. Hebben jullie ook een favoriete artiest of pagina?


An amazing page by Soraya Hamming-Willemse

unnamed-1
A beautiful page by Vicky 

motivational art, what's not to love
Lovely page by Caroline Tucker

A colorfull page by Valerie Sjodin